
A step-by-step walkthrough of what a startup's first clothing production order actually involves — from tech pack and size breakdown to blank selection, branding package, and the 30-piece test run that de-risks scaling.
Startup Playbook · First Production Order
Your first order is not a smaller version of a big one. It is a decision tool. The goal is to get a real garment in your buyer's hands, learn what the spec actually produces, and hold enough information to scale without repeating mistakes. Below is what that order involves, in the order it happens.
- The four inputs you prepare before anything is quoted: tech pack, size breakdown, sample plan, blank selection.
- How branding is specified as a package, not a pile of loose options.
- Why a 30-piece run is the natural first order and what it does and does not prove.
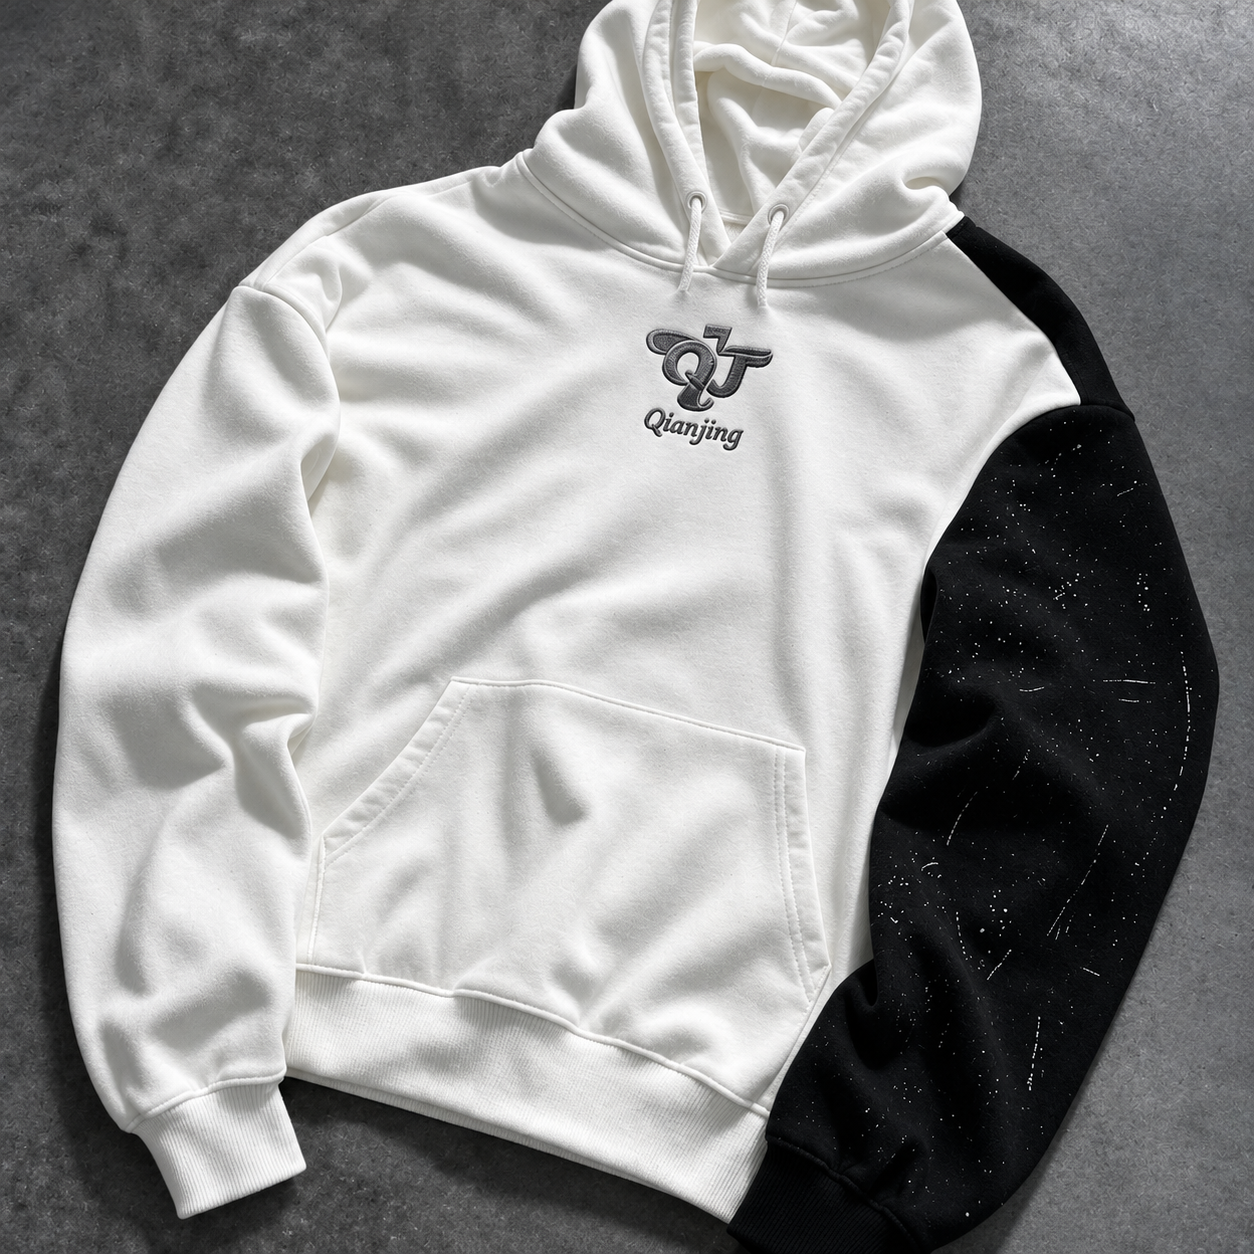
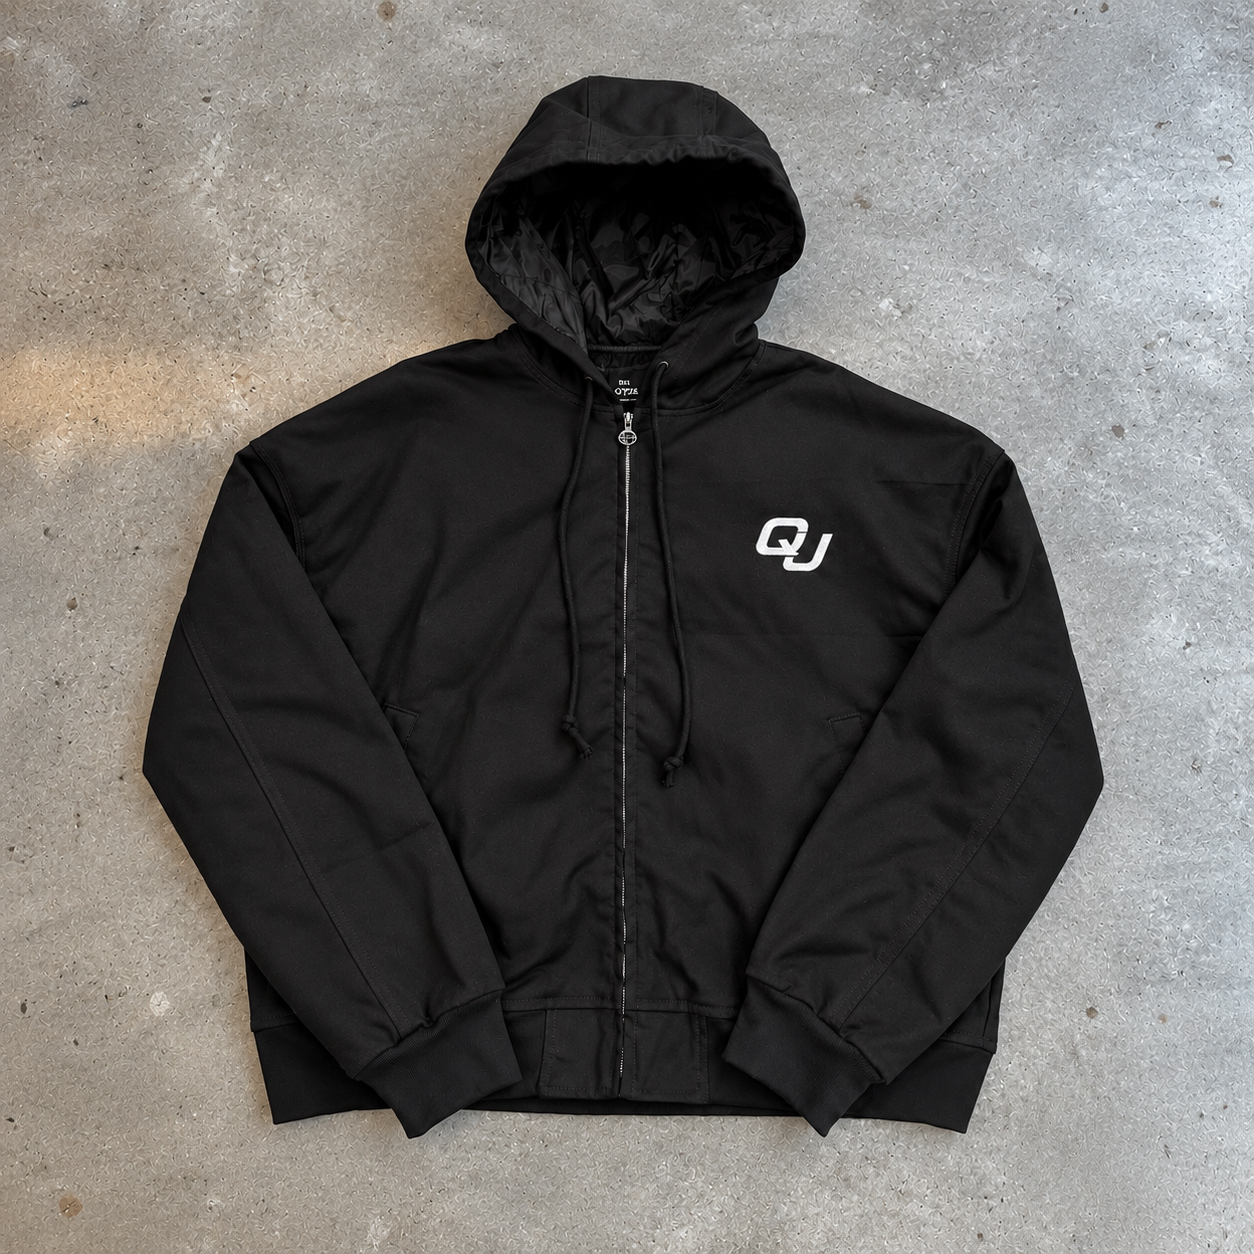
- How this factory's listed starter programs fit the process — including a black full-zip oversized hoodie and a white drop-shoulder baggy pullover, both at MOQ 30.
Step 1 — Write the tech pack
A tech pack is the document that turns a brand idea into a producible garment. For a first order it does not need to be elaborate, but it has to answer the questions a pattern maker and a sewing line will ask. The practical minimum:
- Style and silhouette: full-zip hoodie, pullover, oversized, crop length — describe the shape in plain terms and attach reference images.
- Fabric and weight: fiber content and grams per square meter. If you are unsure, there is a legitimate range you can discuss rather than guess.
- Construction details: zip type, pocket placement, ribbing, hood structure, shoulder seam position.
- Branding requirements: where labels sit, whether logos are printed or embroidered, and what packaging the garment arrives in.
Reference images are often faster than prose. A photo of a competitor garment with three notes — "this length, this weight, this pocket" — communicates more than a page of description. The factory reads a tech pack or reference set plus branding requirements and confirms production details before sampling begins. That confirmation step matters: it is where ambiguity gets resolved on paper rather than on a sewing floor.
What belongs in the tech pack, and what does not
A tech pack is not a mood board. Trend language and brand story help a design conversation but do not help a pattern maker. Keep measurable requirements and reference images in the pack, and keep inspiration out of it. If a detail is a preference rather than a requirement, say so — that tells the factory where it can propose alternatives without stalling the order.
Step 2 — Set the size breakdown
MOQ is a total, not a per-size rule. A 30-piece run can be split across sizes, and for a first order it usually should be, because you learn more from a spread than from a single size. As a worked example — adjust it to your own sales expectation — a 30-piece hoodie run split across XS–L with the middle sizes weighted heaviest (for instance a 4/8/10/8 split across four sizes) matches how most first orders actually sell. The exact split is your call; the point is to decide it deliberately and write it into the order rather than leave it to default.
Two practical notes for a first breakdown:
- If you plan to scale, keep the ratio simple. A rough ratio that repeats cleanly across future orders is easier to manage than a one-off split you cannot reconstruct.
- Check the size range against the silhouette. Oversized and baggy cuts change how a given labeled size fits; a reference garment in your target size is the most reliable way to align on fit before sampling.
Step 3 — Decide the sample plan
Sampling is where a first order earns its keep. A sensible plan has three checkpoints:
- Confirmation sample or spec sign-off: the factory confirms the construction, fabric, weight, and branding reads before bulk sampling begins.
- Pre-production sample: a physical garment in the confirmed spec. This is the one you measure, fit, and photograph. Treat approval here as your go/no-go gate.
- Production reference: the approved sample stays with the factory as the standard the run is checked against.
What sampling proves: the spec can be built as written. What it does not prove: that every unit in a larger run will match it. That distinction is why the next steps matter, and why a test run comes before scale.
Step 4 — Choose the blank
Blank selection is a brand decision as much as a production one. For a new label, the strongest first move is often to start from an existing blank whose silhouette and weight you can trust, then add your own branding. That keeps the variable count low: one fabric, one construction, one branding package.
This factory's starter-friendly programs, as listed on their product pages, are a useful reference for what a first blank choice looks like:
| Program | Fabric & weight options | Construction notes | Branding | MOQ |
|---|---|---|---|---|
| Black full-zip oversized hoodie | 100% cotton; 400g / 430g / 500g | Full-zip oversized silhouette | Private-label package: care label, logo or pattern, hang tag, main label, branded packaging | 30 |
| White drop-shoulder baggy pullover | 100% cotton French terry; 400g / 450g / 500g | Side pocket, crop length, drop shoulder, no zip | Embroidery possible for stitched logos; label and tag package | 30 |
| Vintage full-zip blank | Ships as a plain blank | Full-zip vintage silhouette | Buyer's tags only | 30 |
The weight options are worth pausing on. 400g, 430g, 450g, and 500g are not interchangeable — they change drape, hand-feel, and how the garment reads against your brand positioning, though fiber content and knit structure shape the feel too, and the difference between adjacent weights can be subtle in wear. If you are unsure, pick one weight for the test run and evaluate it in hand before committing to a second.
The vintage full-zip blank is a particular option for brands that want to ship a plain garment with only their own tags attached. It is the lowest-assembly path: the branding is a tag, and the product is the blank. That can be the right choice when your early value is the tag and the silhouette rather than a custom-built garment.
For blank hoodies for a clothing brand, the selection logic is the same in all three programs: choose a fabric and weight that match the product you intend to sell, then decide how much of the garment carries your name.
Step 5 — Assemble the branding package
Branding is a package, not a menu. The listed private-label package covers care label, logo or pattern, hang tag, main label, and branded packaging. For the white drop-shoulder pullover, embroidery is also possible for stitched logos. That is a coherent set: every touchpoint a buyer sees from the shelf to the wash instructions.
Two practical points for a first order:
- Specify placement, not just presence. A main label at the neckline, a care label inside the side seam, and a hang tag attached at the collar are three different asks. Say which you want where.
- Match branding method to garment. A printed logo and an embroidered logo read differently on a 400g versus a 500g fabric. If you are choosing between them, stitched embroidery is confirmed as possible on the white drop-shoulder pullover; decide before sampling so the sample reflects your final branding.
Branded packaging is part of the package, not an afterthought. If you plan to sell online, the bag or box a garment arrives in is part of the customer's first impression. Specify it with the rest of the branding so it is built into the sample.
Step 6 — Place the 30-piece test run
Now the part that makes the process de-risk rather than merely document. A 30-piece run keeps a first production small enough to test a design before scaling. At MOQ 30, you get a real production run — not a sample — in quantities you can sell, photograph, and assess.
What a 30-piece run lets you evaluate:
- Construction consistency: whether zips, seams, pockets, and labels hold up across units rather than on one sample.
- Fabric hand-feel in volume: the same weight across multiple garments reads more clearly than a single sample.
- Branding in place: how the label package actually looks on a finished, packed garment.
- Size spread in hand: how your chosen ratio looks and fits across the sizes you picked.
In practice: work through the pieces with the approved pre-production sample beside you — check the zip operation and pocket alignment unit by unit, photograph the label and tag placement on a few garments, and lay one unit per size flat and measure the same points you measured on the sample. A 30-piece spread is a strong early consistency signal, not a statistical guarantee; treat any repeated deviation as a finding to resolve before scaling.
What it does not do: it does not tell you how the design will sell, and it does not promise that a larger order will match it. It gives you a real garment and a real production reference. Those are the inputs for the next decision.
Step 7 — Read the run before scaling
The last step is a review, not a reorder. Set a short list of questions against the 30 pieces and answer them before committing to a larger run:
- Did the spec land? Compare production pieces to the approved pre-production sample. If they differ, that is the finding — resolve it before scale.
- Which weight? If you tested one weight, decide whether it is the right weight for your brand before scaling into more colors or silhouettes.
- Which branding elements earned their place? If the hang tag or packaging felt like filler, change it now, while the order is small.
- Which size ratio fits your plan? Use the 30-piece spread to set the ratio for the next order.
This factory produces made-to-order for overseas brands on the basis of a tech pack or reference images plus branding requirements, with production confirmed before sampling. That sequence — confirm spec, sample, approve, run, review — is the whole playbook. The 30-piece run is what makes the review possible without overcommitting on a design you have not yet held.
Where a startup usually gets stuck
Most first-order friction comes from three gaps: an under-specified tech pack, an undecided size ratio, or branding that is requested element by element without placement. Each of these is resolved on paper before sampling and at far lower cost than resolving them on a production line. If you are not sure about a weight or a branding method, treat that as an open spec question to settle with the factory before the sample is built, rather than as a detail to sort out later.
Starter programs described here are listed at MOQ 30 on their product pages; confirm the figure for your chosen style when you enquire. Weight and branding options vary by program as listed. For a first order, confirm your spec, size breakdown, and branding placement with the factory before sampling begins.
Ready to plan yours? Start from the black full-zip oversized hoodie or the white drop-shoulder pullover listed above, and send your tech pack, size breakdown and branding placement with your enquiry.